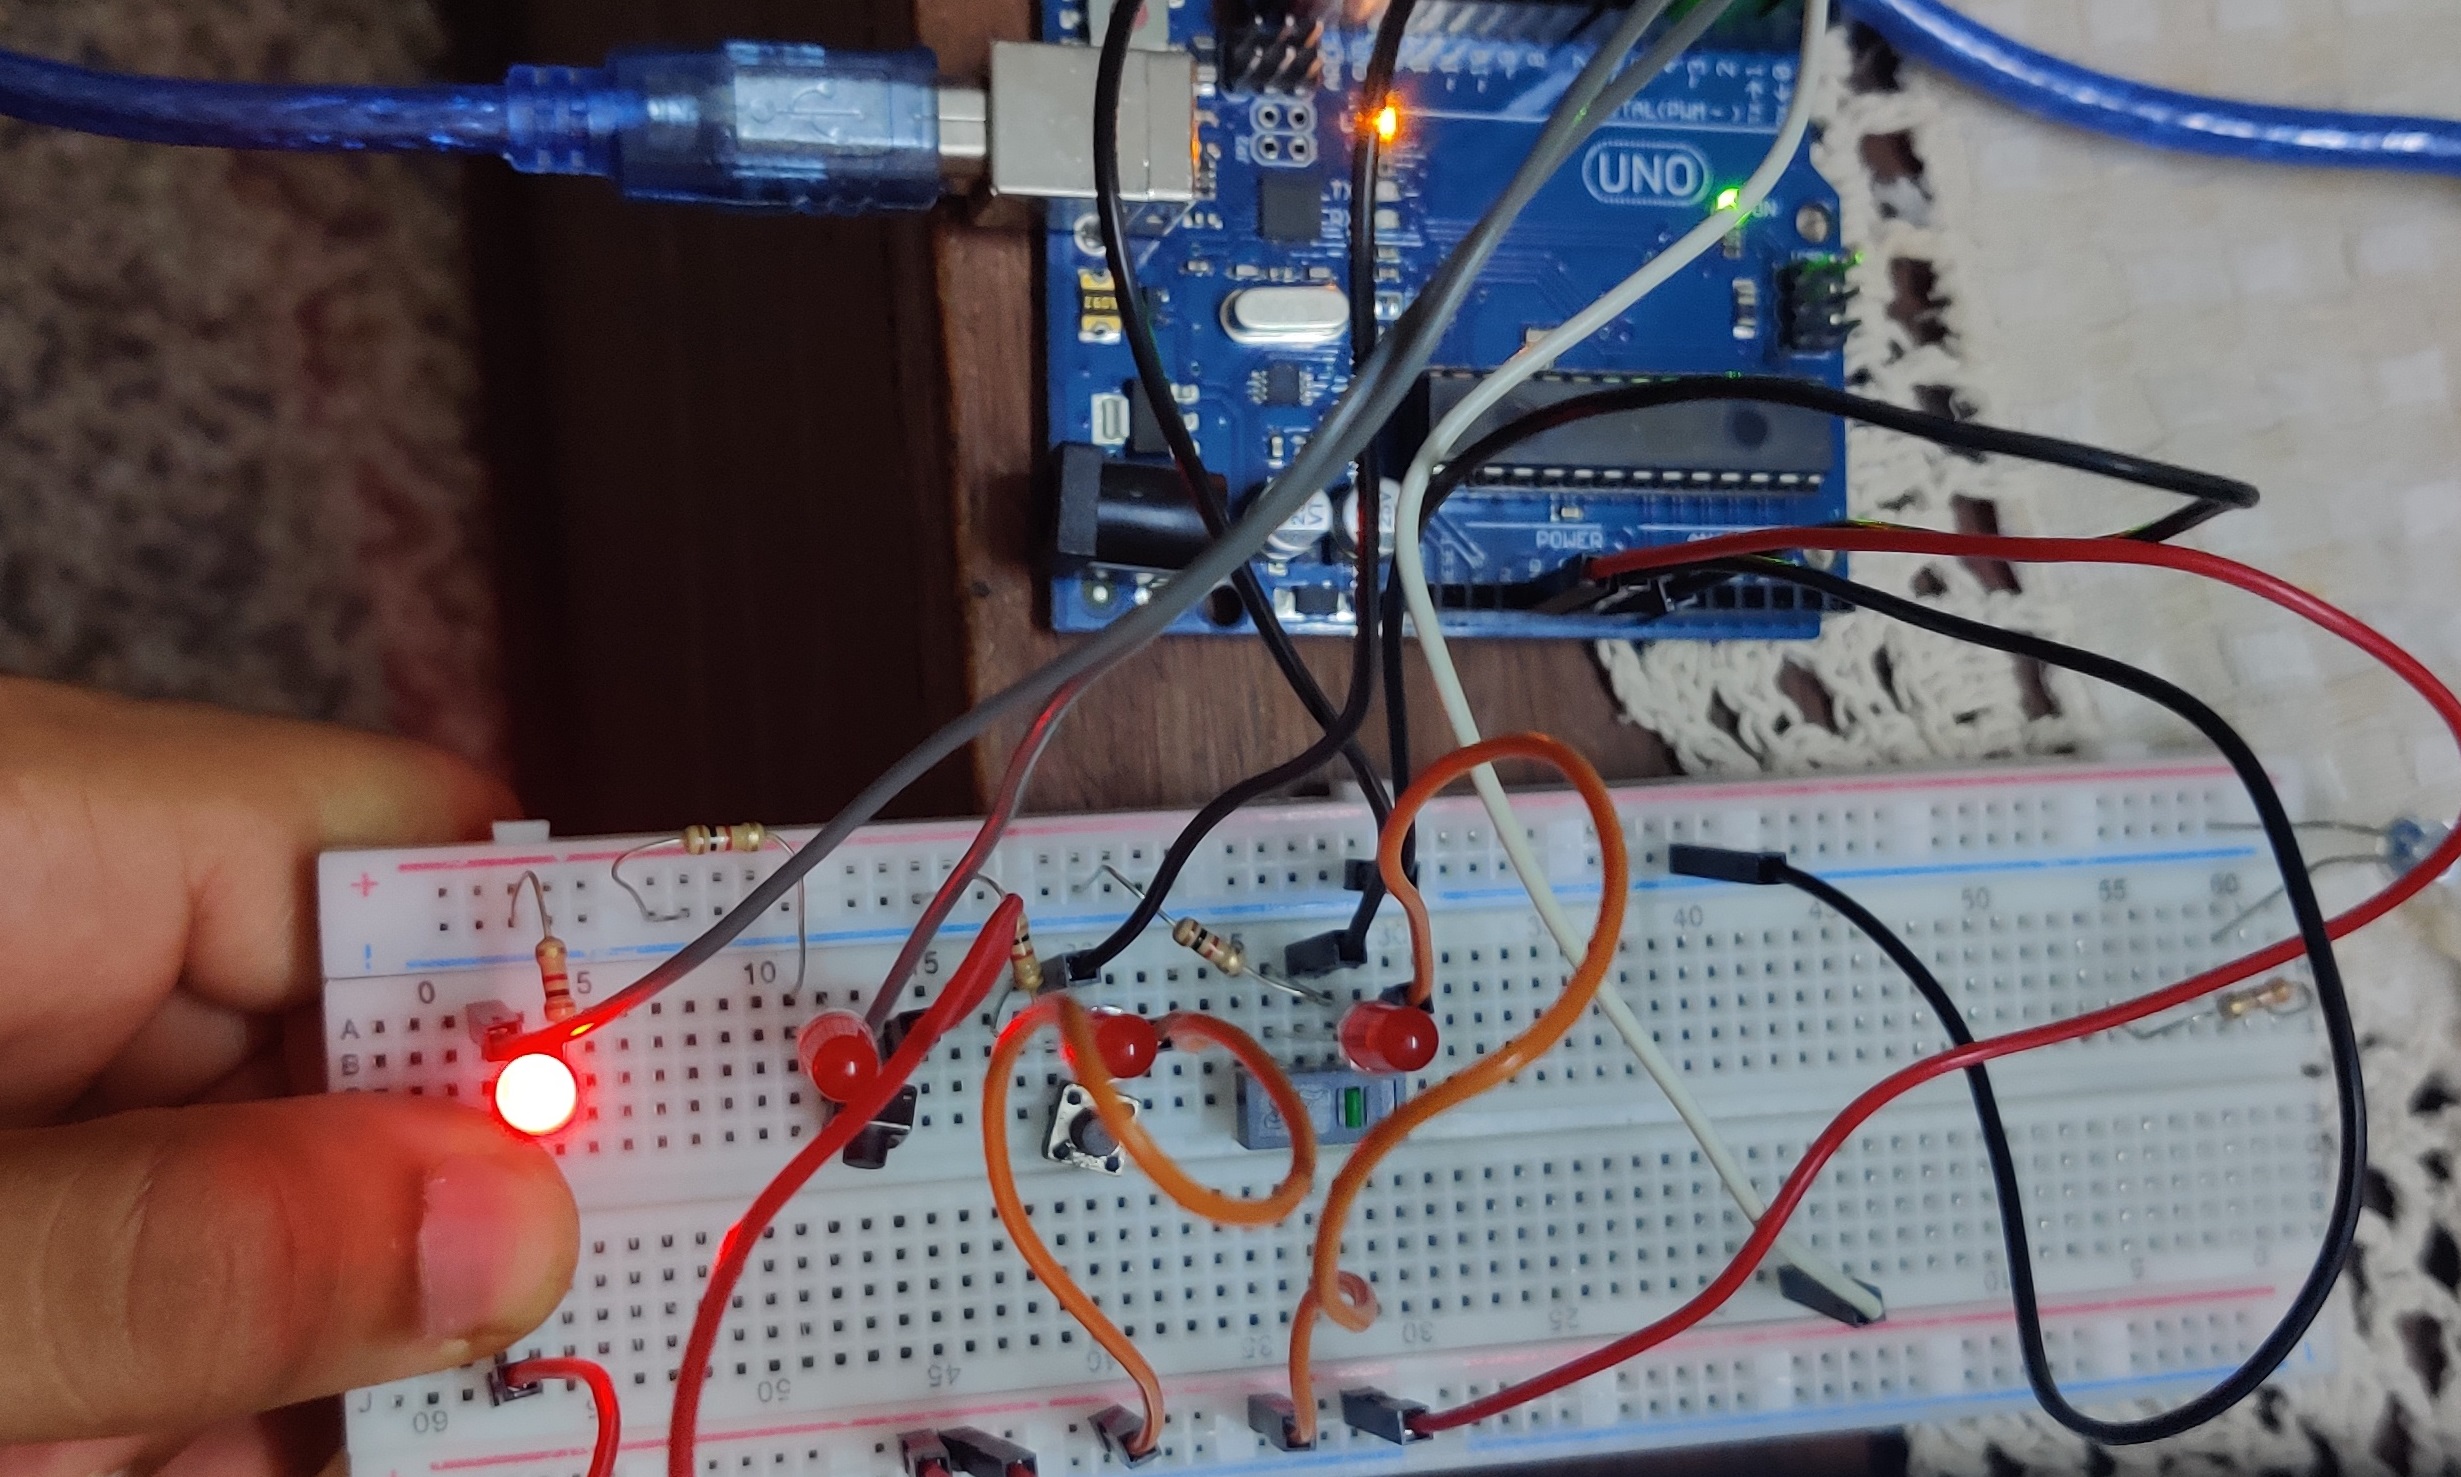
Hi, this blog is a way to keep all my projects in one place, while documenting the process along with all the problems that I encounter.
Every house probably has a buttload of remote-controls, and many useless buttons. In my house we have three just for the TV, one for the amazon fire T.V, one for the setup box to watch TV channels and one for the L.G TV.
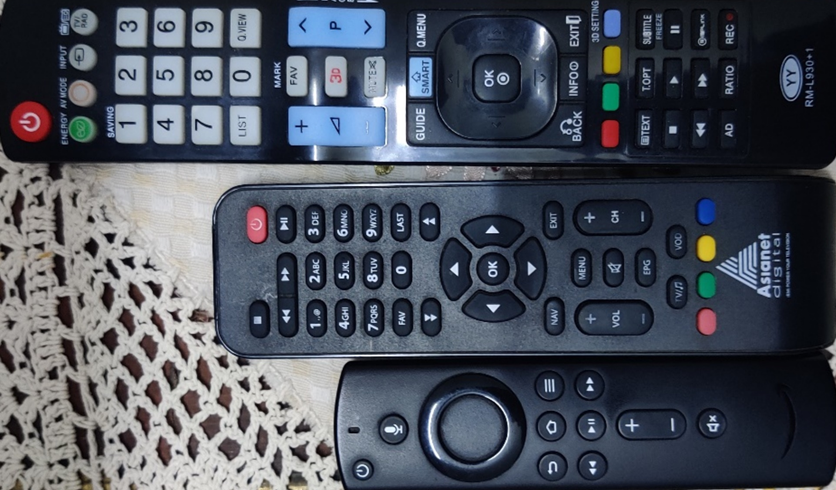
This third remote is probably the most annoying, it is the biggest remote out of the three with 51 buttons! However, we only really use two of those buttons, the power button to turn the TV on and off and the input button to switch from the setup box to the fire stick. Sometimes we would use the volume buttons but those are available on the other remotes so we don’t really need them. This is also the remote which stops working most of the time. The remote may be quite inexpensive but it is a pain to keep fixing them and don’t get me started about changing batteries. The TV used to have physical buttons on the side which removed the need for this remote, but after using those buttons for so long they got physically damaged.
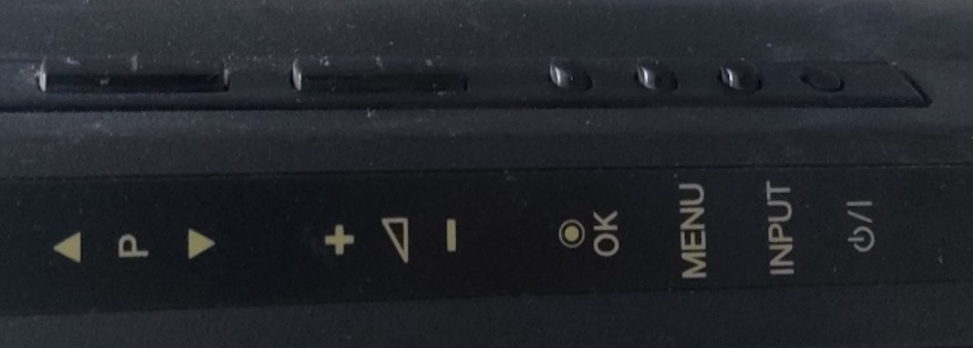
I first wanted to take the TV apart and use my multimeter and soldering iron and fix that, but there was no way my parents were going to let me tinker on the only TV. There is also the problem that the buttons are really badly placed on the side of the TV. So, I decided to make the next best thing, a new remote. Why make a remote when you already have one? Well, I’m going to make a custom remote which only has feature I need. Also, I don’t plan on making a “remote” remote-control because no one can find the remote when they need it. I plan to fix to in place like on the arm rest of the couch. I would also like to use mains supply because I don’t want to deal with batteries.
Scope
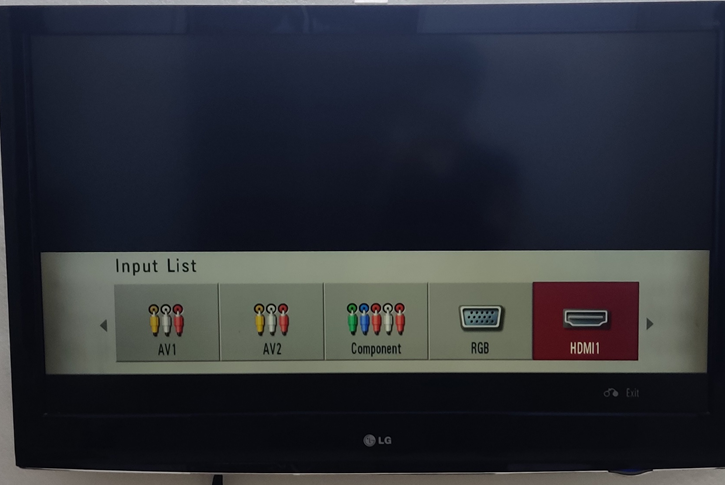
My remote will be a simple Arduino connected to an IR LED, which would perform only two functions. One function will be the power button which will work the same way as the regular remote. The other will be the input button, but here there is a small difference. On the regular remote when I want to switch between cable and fire tv I have to press the input button 6 times, here I would just press the button once, but the remote will automatically press it 6 times. Similarly, when I need to change from the HDMI3 to the TV2 I need to press the button 3 times. In my remote I would only need to press the button once for it to be pressed 3 times. I will also create regular input button just in case the automation goes wrong.
Implementing an IR remote is actually a very common and popular thing on Arduino, there are many libraries that do this and many example projects online. I took inspiration from Great Scott
Receiver
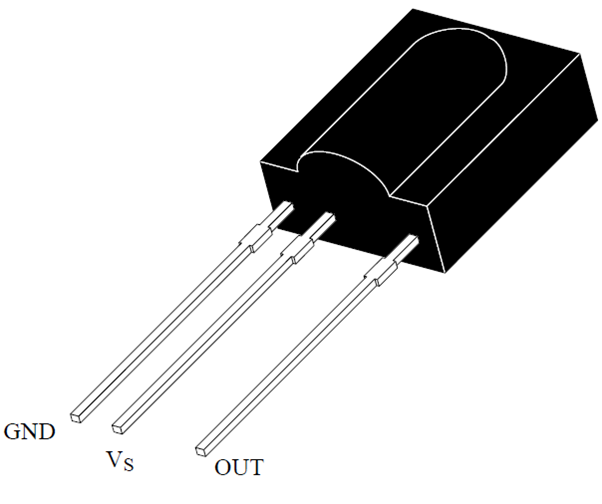
First actually I would need a IR receiver like the TSOP1738. If you are buying these components make sure you do not get confused with the IR sensor that’s a bit different. You might be wondering why I need a receiver to make a remote transmitter, actually I need the receiver to figure out what kind of protocol or PWM signal my current remote is sending so that I can replicate that. Once I get that information, I have no need for the TSOP. Normally there is a lot different types of protocols which is explained in DroneBot workshop I’m going to be using the “IR Remote by Shirriff” library which is very popular. All I do for the connections is connect the GND to ground, Vs to +5V and OUT to pin 1.
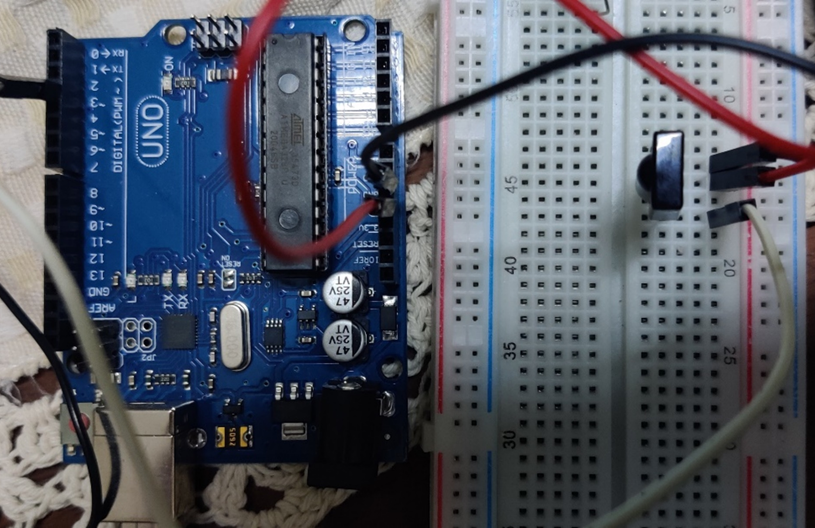
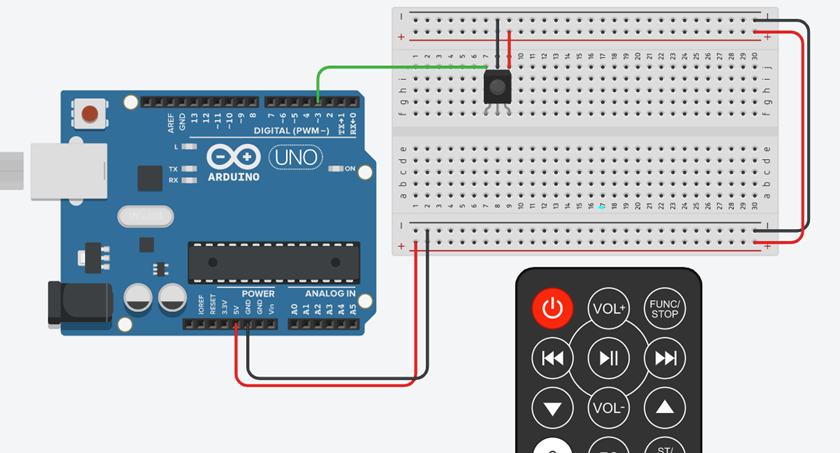
Here is a picture a simulation to understand the connections along with the actual circuit. Then I run the following sketch which I got from Ken Shirriff’s blog
#include <IRremote.h> //including the liabry
#define rec 1 //connecting the tsop output pin to pin 1

IRrecv irrecv(rec); //initializing the output pin
decode_results results;

void setup(){
  Serial.begin(9600); //initializing serial monitor
  irrecv.enableIRIn(); //initializing the library recive
}

void loop(){
  if (irrecv.decode(&results)){
        Serial.println(results.value, HEX); //print the value in hex
        irrecv.resume();
  }
}
After running the code, I take my TV remote and press the input and the power buttons and open the serial monitor. I get the following two hex values 20DF10EF (for power) and 20DFD02F (for input) that’s all we need from the remote, now time to make our own.
Transmission
To transmit we need an IR LED which is really the same as a regular LED but just works on a different wavelength. You could probably de-solder one from an old remote laying around. Then all we need is a pushbutton. I’ll be using 4 buttons actually, one as the power, one as a regular input button and the other 2 two buttons switches from TV2 to HDMI3 and back. The connections are like a regular LED pushbutton with a pull-down resistor.
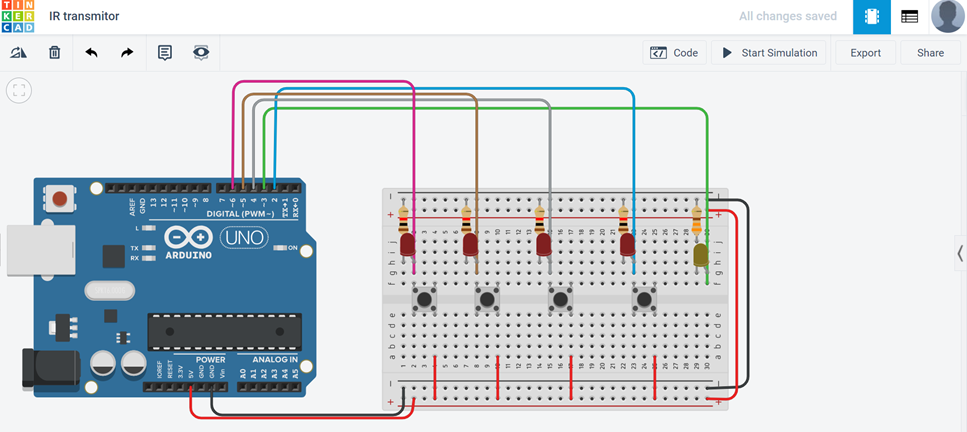
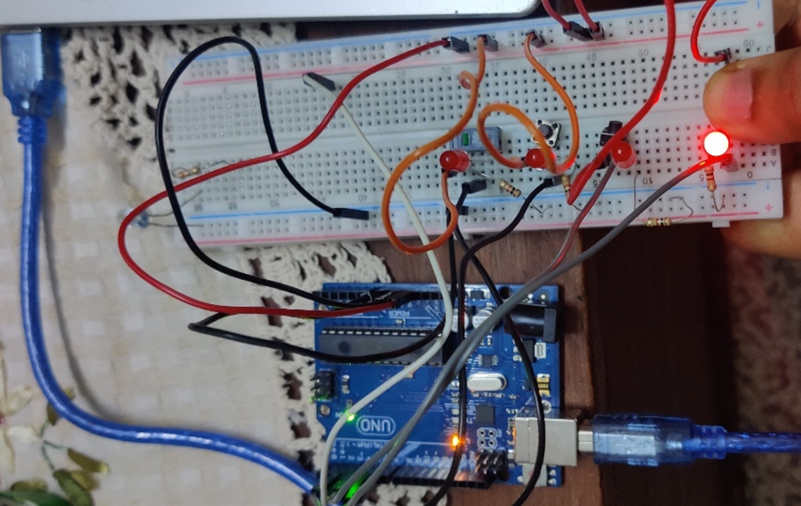
I have represented the IR LED as a yellow LED and the regular LED as a RED LED. I also used regular LED’s with the button so that I can get feedback instantly. The library is actually very complicated, in the sense that it does everything. We should not define the output led pin and it is always set to pin 3, this does have the disadvantage of not being able to use 2 interrupts. Nevertheless, I used an interrupt for the power button and regular if else statements with a digital Read.
#include <IRremote.h> // initalzing the remote library

#define onbut 2 //defining on button as pin 2
#define imbut 4 //defining regular input button as pin 3
#define hdmi 5 //defining the tv to hdmi button as pin 5
#define tv 6 //defining the hdmi to tv button as pin 6

int im=0; //to store status of input button
int hd=0; //to store status of tv to hdmi button
int tv2=0; //to store status of hdmi to tv button

IRsend irsend; //initializing library send

void setup() {
  pinMode(onbut, INPUT);
  pinMode(imbut, INPUT);
  pinMode(hdmi, INPUT);
  pinMode(tv, INPUT);
  attachInterrupt(0,power,RISING); //defining interrupt for power button
}

void loop() {
  im=digitalRead(imbut); //reading input button
  hd=digitalRead(hdmi); //reading hdmi to tv button
  tv2=digitalRead(tv); //reading tv to hdmi button

  if (hd==1){
    for (int i=0;i<6;i++){
      irsend.sendNEC(0x20DFD02F , 32); //sending signal 6 times and waiting 1 second
      delay(1000);}}

  else if (tv==1){
    for (int i=0;i<3;i++){ //sending signal 3 times and waiting 1 second
      irsend.sendNEC(0x20DFD02F , 32);
      delay(1000);}}

  else if (im==1){
    irsend.sendNEC(0x20DFD02F , 32);
  }
  delay(1000);
}

void power(){
  irsend.sendNEC(0x20DF10EF , 32);} //sending power button signal
Conclusion
Now I have successfully created a prototype that works exactly how I want it to. The next step would be to make it smaller and put it on a perf board/ dot board. Since I’m going to just be using the ATmega328 I might as well try move the project to the ATtiny85. However, the IR remote library can not used with that, which means I would have to figure out how the make the thing work without the library, the first step would be to do the project on a ATmega328 without the library and then port it over to the ATtiny 85. I think this would be a good project as I would learn a lot more because I’m not using a library, so stay tuned for that. I would also like to use something like a Arduino mega and combine all the remote controls into a single remote. I would also need to make replica of my A.C remote because we only have one remote for 2 air conditioner units. I shall do that after without libraries as well.


